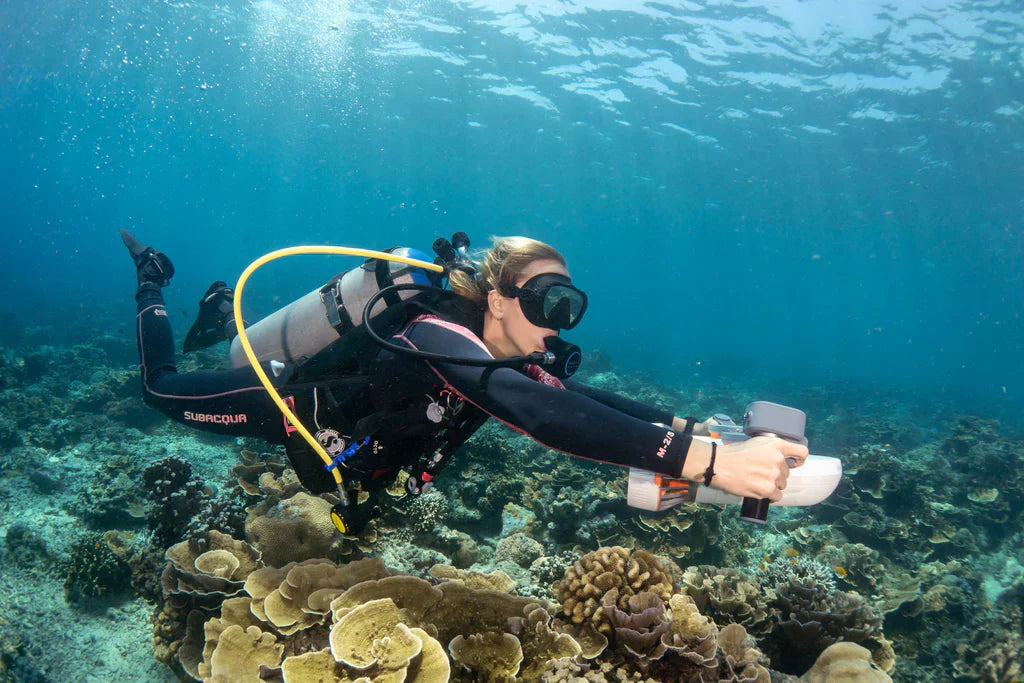
如果你的水下影片經常顫抖或緩慢,sea scooter 可以帶來很大改變。它幫助你平滑滑行,使拍攝穩定且專業的鏡頭變得容易得多。本指南將教你如何使用它來提升拍攝技巧,讓你在下一次潛水時捕捉更好的畫面。

如何選擇你的海中滑板和攝影裝備
使用海中滑板拍攝的主要優勢
海中滑板不僅僅是移動工具;它是一個強大的拍攝工具,解決了許多常見的水下影片挑戰。
流暢且穩定的畫面
海中滑板穩定的推進力創造出一個令人難以置信的穩定拍攝平台,就像一個移動的滑軌。這消除了使用蛙鞋踢腿時常出現的顛簸上下動作,讓你能拍出專業電影中那種流暢的追蹤鏡頭。
更遠的拍攝範圍
使用海洋滑板,您可以輕鬆覆蓋像整個沉船這樣的大範圍區域 或在一次潛水中覆蓋長長的珊瑚礁。這大大增加了您尋找獨特主題和捕捉多樣鏡頭的機會,從而講述更完整的故事。
創意攝影動作
海洋滑板解鎖了幾乎游泳者無法完成的動態攝影動作。您可以平滑地繞著靜止主體進行360度“軌道”拍攝,或執行受控上升,創造戲劇性的水下景觀揭示。
能量與空氣節省
讓海洋滑板承擔體力工作,您可以節省大量能量和空氣。這不僅允許更長時間的潛水,還能釋放您的精神專注於鏡頭的創意方面——如構圖、對焦和曝光。
如何選擇適合拍攝的海洋滑板
用於拍攝的海洋滑板需要是一個可靠的工具,能給您創意控制。以下是選擇要點。
尋找可變速和持久電池
可變速控制是必須的。您需要慢速以拍攝細膩鏡頭,快速則用於跟上海洋生物或應對水流。關鍵是檢查滑板在每個速度下的連續運行時間,以確保電池能支撐整個潛水過程。
選擇易於操作和攜帶的型號
尋找浮力中性或略帶正浮力的滑板,這樣易於操作且放手時不會下沉。平衡良好的型號對於獲得精確鏡頭至關重要。如果您經常旅行,輕便的滑板配備符合航空公司規定的可拆卸電池會更方便。
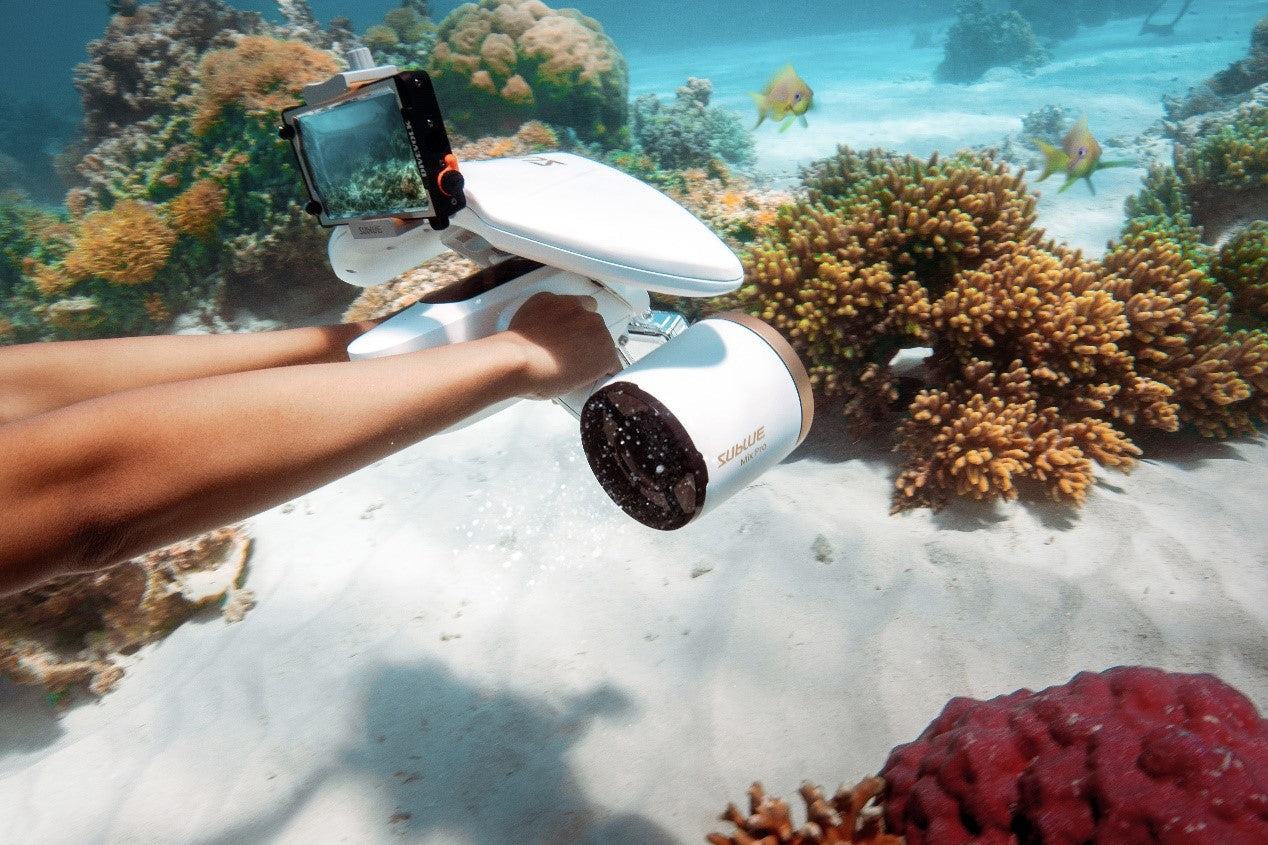
確保它有良好的相機安裝選項
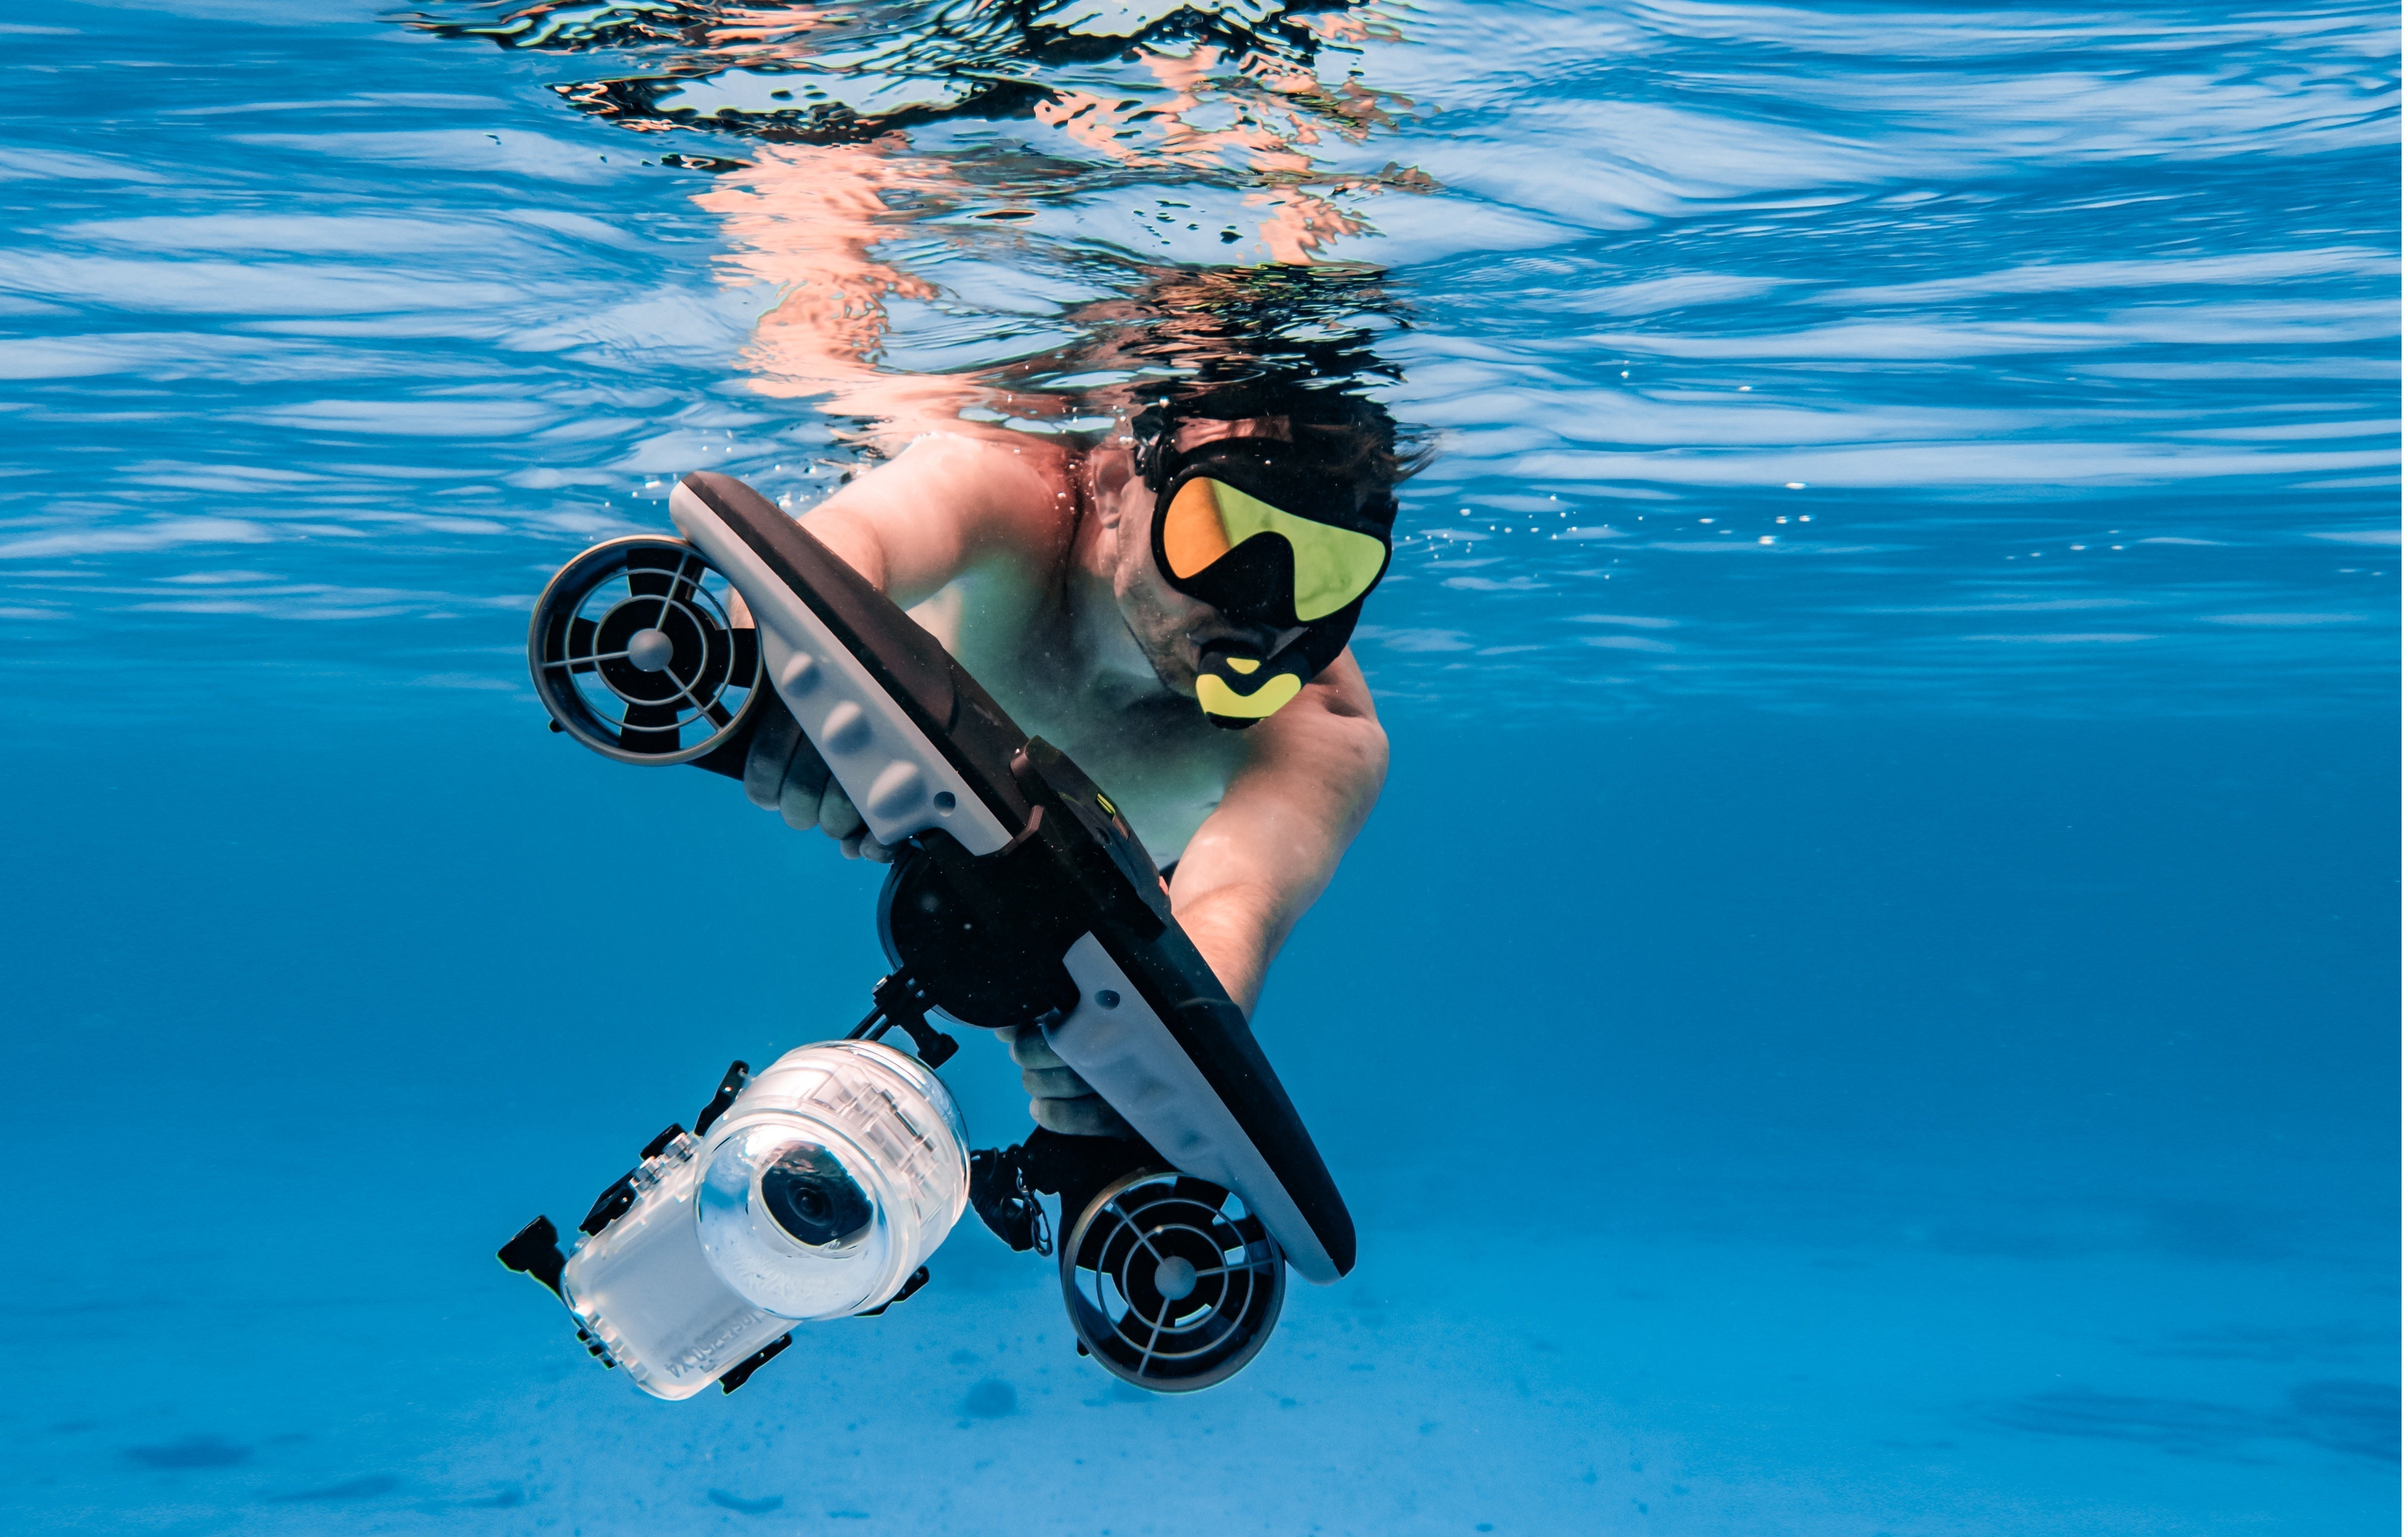
用於拍攝的滑板必須至少有一個標準安裝座以固定運動相機。更好的型號提供更多靈活性,例如額外的安裝點或平坦表面,可用於安裝可容納較大相機和燈光的自訂托盤。
如何打造您的水下相機裝置
您的相機裝備必須配置得與您和您的海洋滑板無縫配合。
從選擇合適的相機開始
您的相機選擇取決於您的目標和預算。
· 運動相機(GoPro): 最簡單且最耐用的起點。
· 輕便相機(Olympus TG): 影像品質與控制的良好升級。
· 無反光鏡/DSLR 防水殼: 專業選擇,提供最佳影像品質,但此配置體積大、複雜且昂貴。
達成中性浮力與平衡
目標是讓整個架設(攝影機、托盤、燈光)達到中性浮力,感覺像無重狀態。您可以透過在攝影機托盤上安裝浮力臂和泡棉浮塊來抵消重量。平衡的架設穩定且易於操控,對於拍攝流暢畫面至關重要。
添加必備的影片燈
影片燈是必備的,用來還原水下流失的色彩。由於水會吸收紅色和黃色,您需要燈光避免畫面偏藍或偏綠。使用兩盞寬光束影片燈,分別安裝在攝影機兩側的臂架上,以達到均勻照明並消除強烈陰影。
用關鍵配件完成架設
· 攝影機托盤: 支撐您的攝影機並提供手把與臂架安裝點的基座。
· 關節臂: 用於定位燈光或外接監視器的靈活臂架。
· 水下監視器: 一個獨立且較大的螢幕,讓您更輕鬆確認對焦並準確構圖。
您的 sea scooter 和攝影機架是水下敘事的主要工具。選擇並組裝好合適的系統後,您就能專注於最重要的部分:捕捉驚艷畫面的創意技巧。

使用您的 Sea Scooter 拍攝技巧
現在您的裝備已準備就緒,是時候開始拍攝了。本節涵蓋攝影機移動、構圖和燈光的最重要技巧,幫助您拍出專業感十足的鏡頭。
必備的 Sea Scooter 攝影鏡頭
掌握幾個基本的攝影機移動技巧,將大幅提升您的影片品質。以下是您使用 sea scooter 可拍攝到的最有效鏡頭。
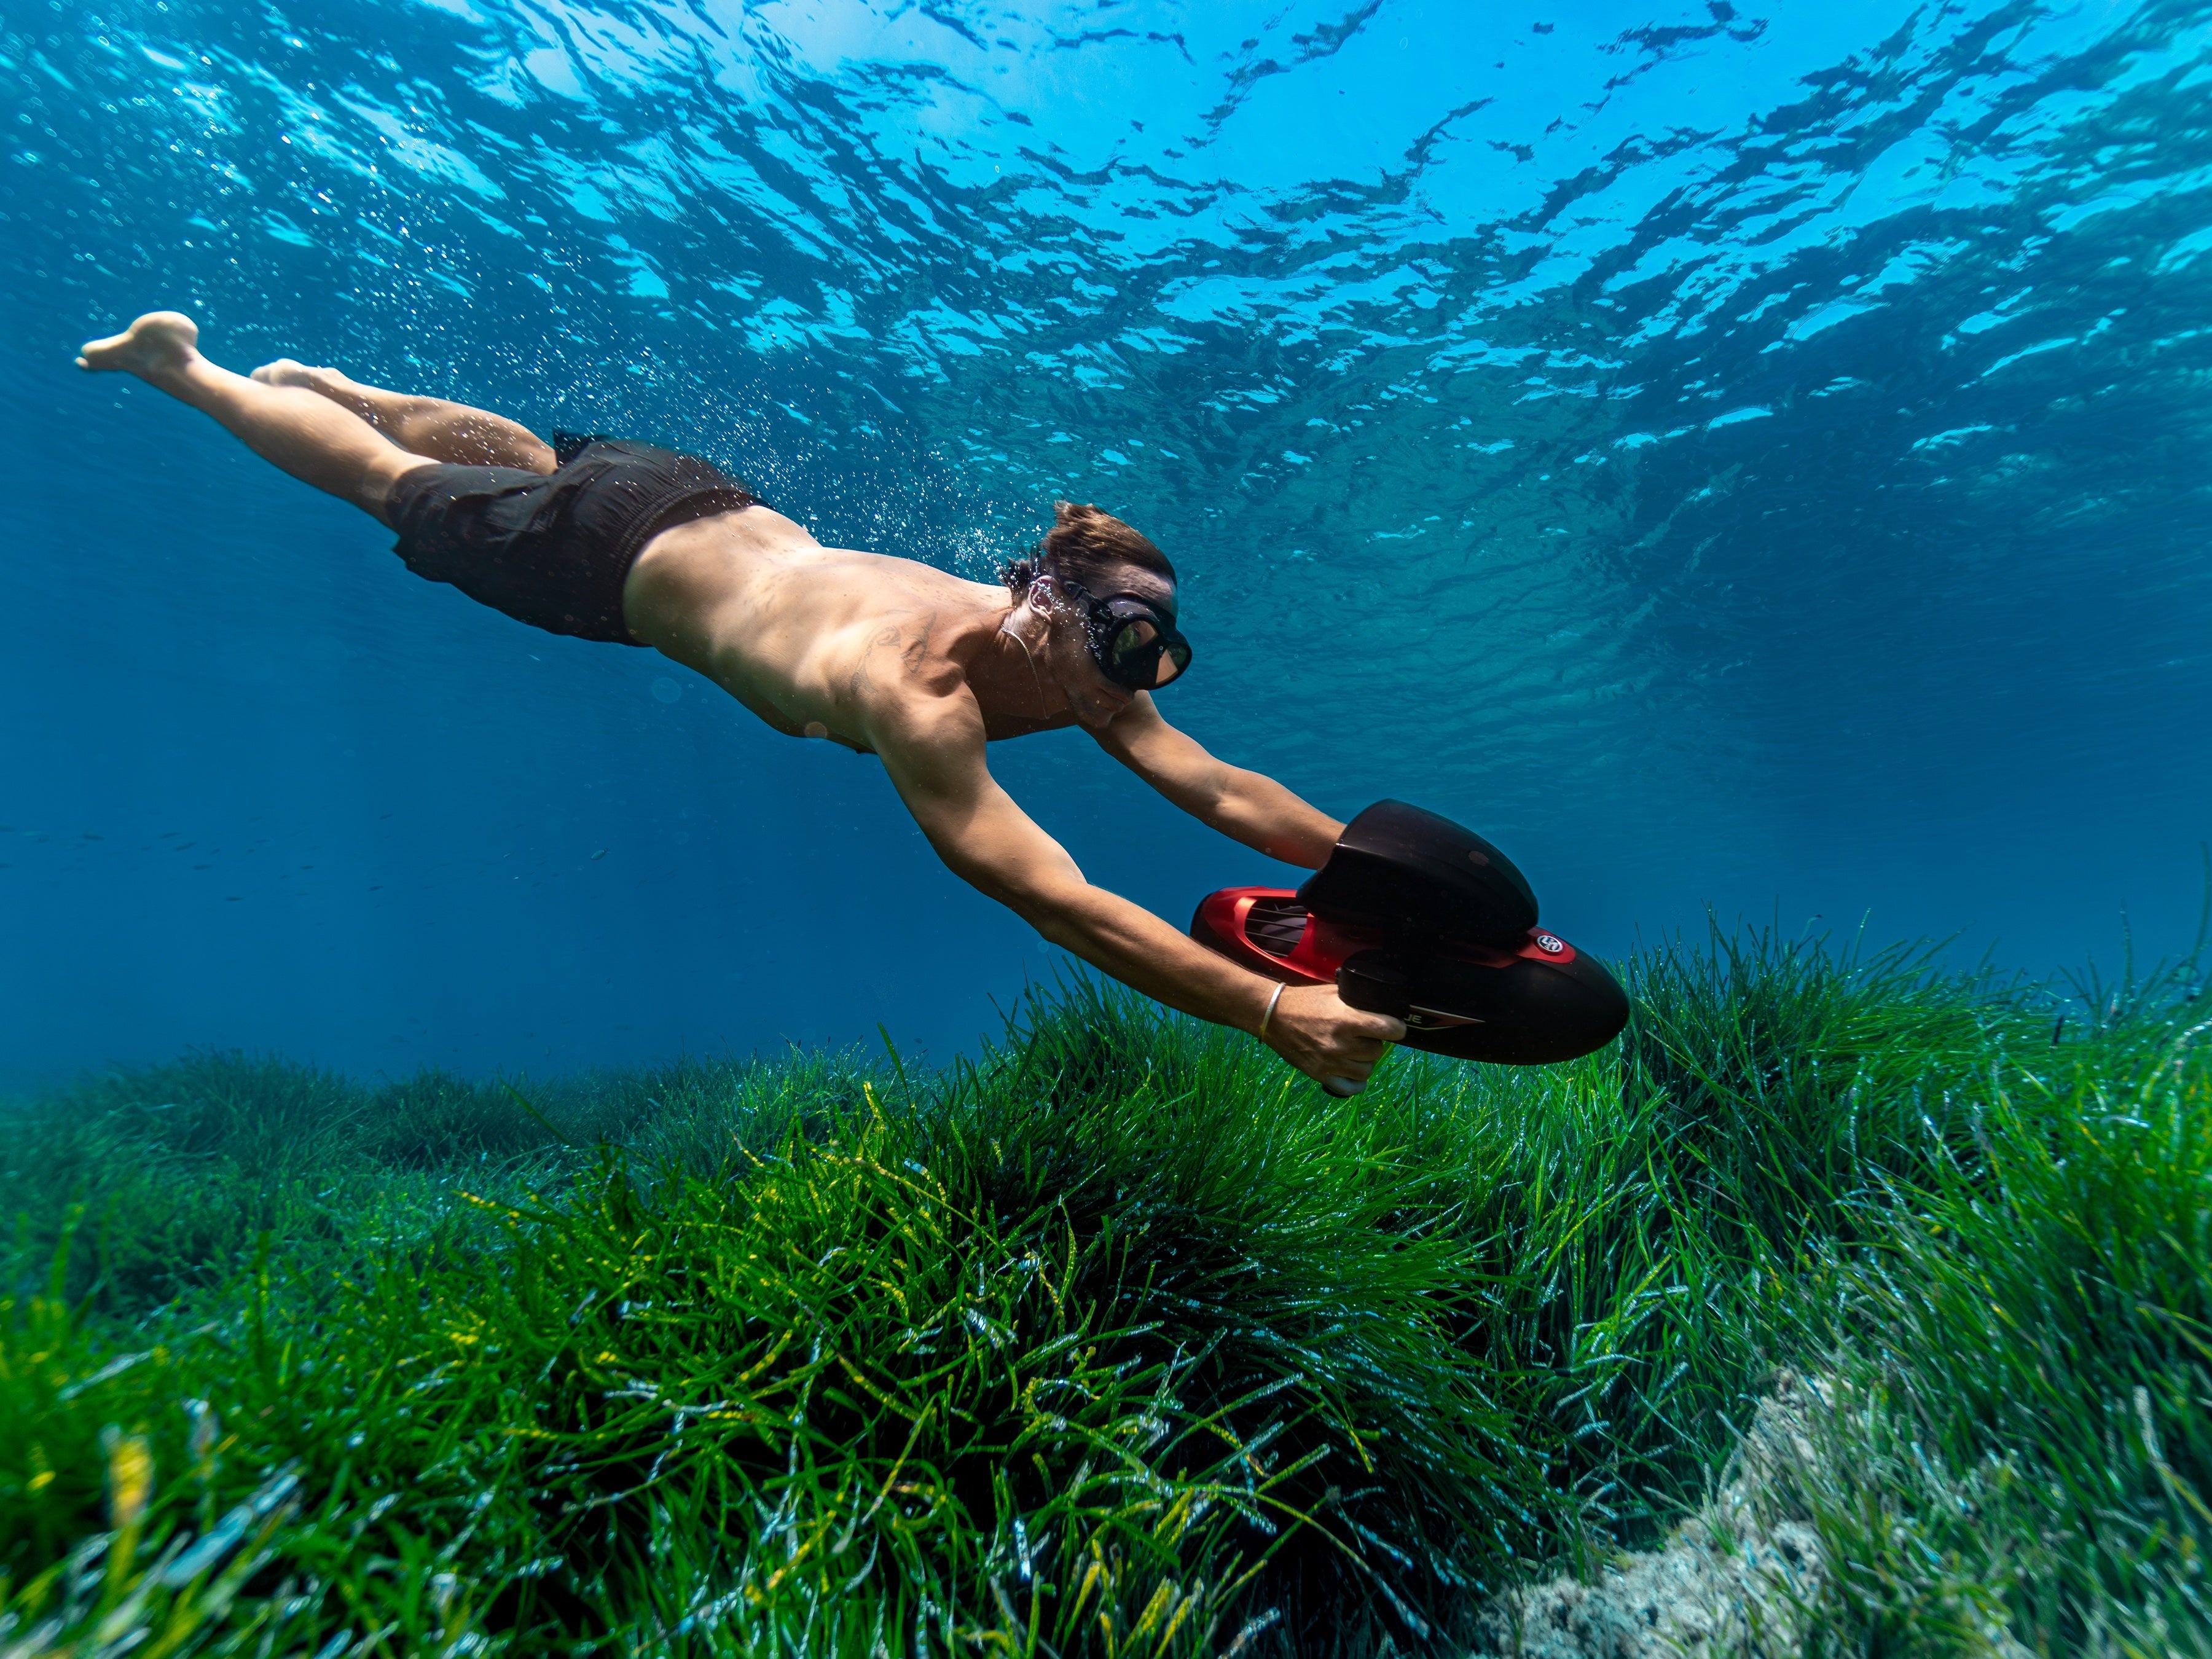
1. 推軌鏡頭
這是平行於主體的平滑側向移動,或是朝向或遠離主體的直線移動。
如何操作: 使用滑板車最慢的速度,與主體保持恆定距離並行移動。你也可以慢慢向主體靠近("推進"),吸引觀眾注意。
2. 環繞鏡頭
這涉及繞著靜止主體旋轉,從各個角度展示它。
操作方法: 繞著主體旋轉,同時保持距離不變。將滑板車稍微偏離主體方向,並用身體控制平滑弧線轉向。這個鏡頭非常適合展示焦點,如珊瑚頭或殘骸上的錨。
3. 跟隨與穿越
這些鏡頭透過跟隨動物或穿越結構,創造沉浸式的旅行感。
操作方法: 要跟隨動物,配合其速度並嘗試預測其動作,且不要讓牠感到壓力。對於穿越鏡頭,例如穿過殘骸開口,事先規劃路徑並順暢通過。
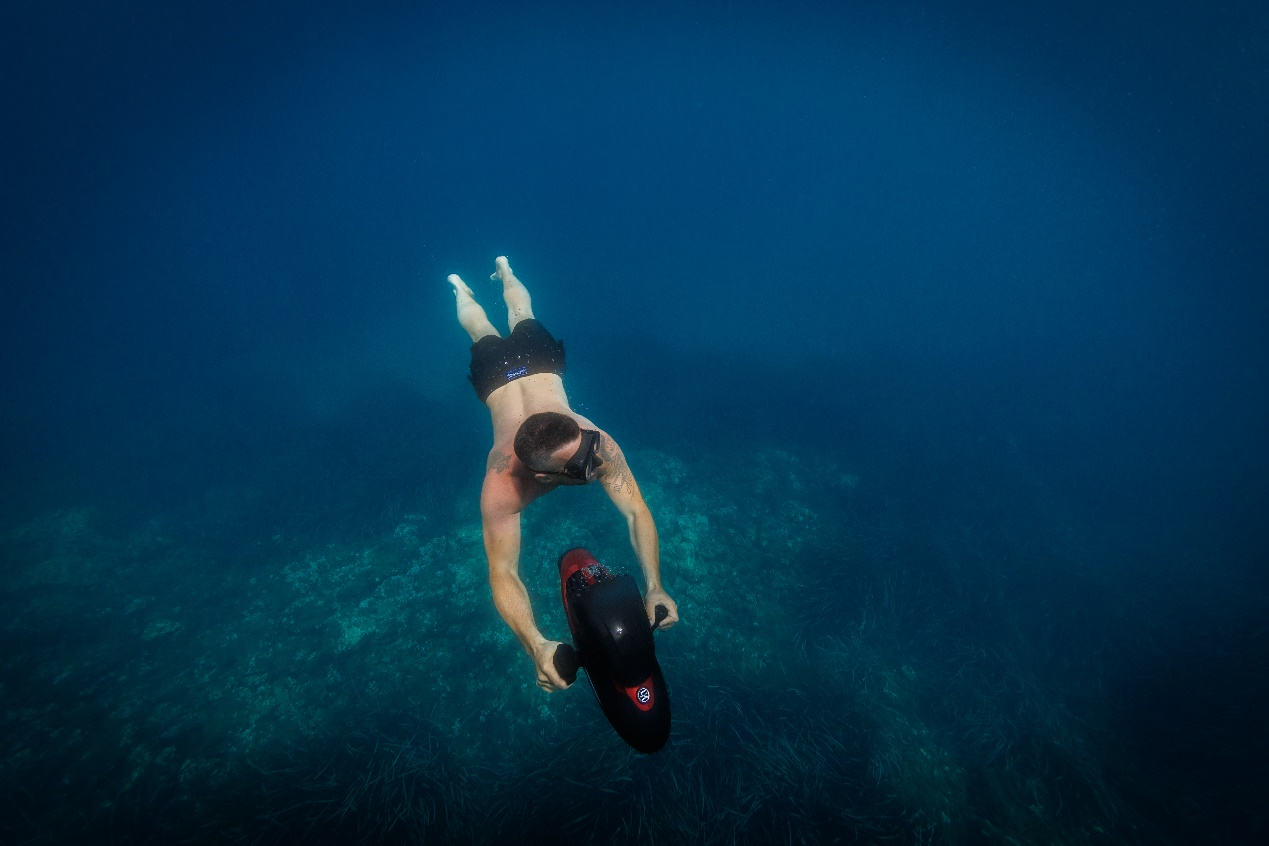
4. 上升與下降
使用垂直移動可以讓場景感覺龐大且戲劇性十足。
操作方法: 使用滑板車保持受控且穩定的垂直速度。緩慢上升至高大的殘骸,或下降進入blue hole 可以非常有力。務必確保耳朵的平衡。
5. 觀點鏡頭 (POV)
這提供第一人稱視角,讓觀眾感覺像是在旅程中。
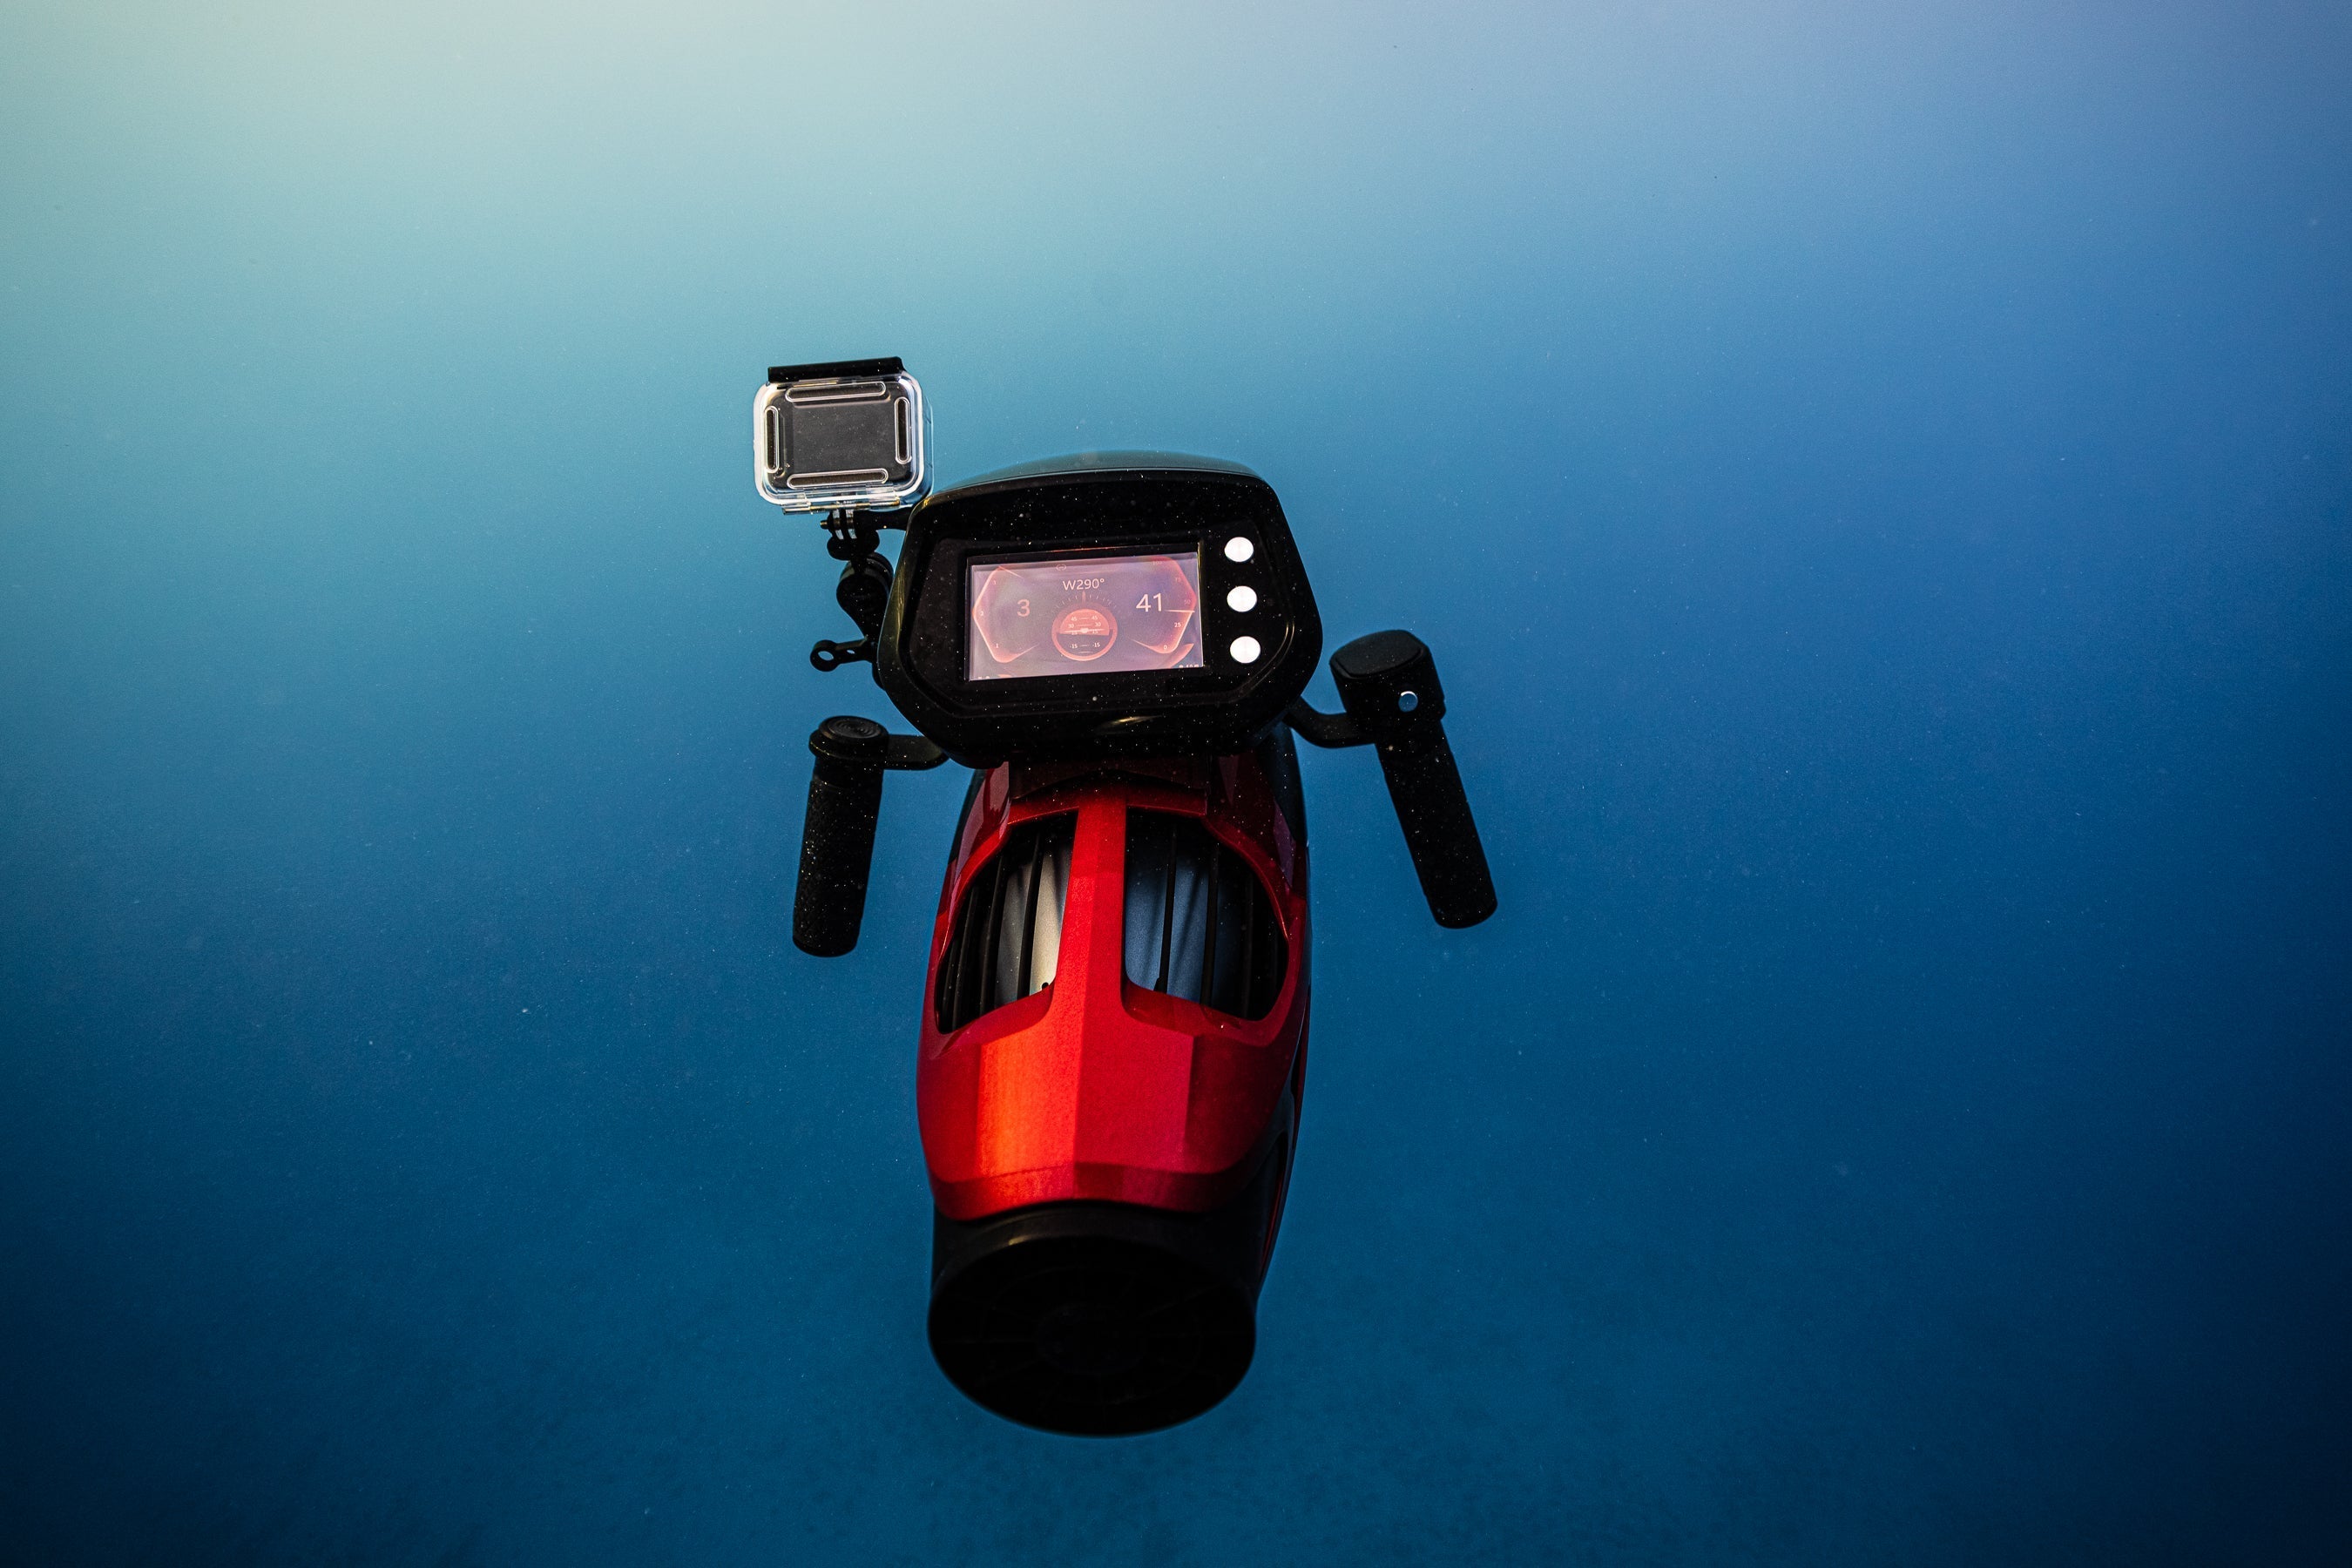
操作方法: 將運動相機直接安裝在你的滑板車內建支架上。這非常適合創造節奏快速、充滿活力的鏡頭。
6. 結合動作
當你熟悉基本鏡頭後,可以將它們結合,創造更複雜且有趣的效果。
操作方法: 嘗試繞著主體旋轉,同時緩慢上升,創造螺旋效果。或者,從前景物體旁移動,然後將相機向上傾斜,展現其後更大的場景。
如何構圖您的畫面
海洋滑板車讓您能快速找到最佳的相機位置和構圖。
1. 用層次創造深度
為了避免您的視頻看起來平淡,請用前景、中景和背景元素來構圖。
操作方法: 使用您的 scooter 輕鬆定位自己,讓您可以用層次來構圖。將前景物體(如珊瑚)、中間的主要主體和背景的開放水域放置在畫面中,創造深度感。
2. 使用引導線
利用環境中的自然線條引導觀眾的視線。
操作方法: 找到一條線,例如珊瑚礁的邊緣或沉船上的欄杆,並使用您的 scooter 平滑地沿著它移動。這會創造自然的視覺路徑,使您的畫面更具吸引力。
3. 應用三分法則
將主體放置在非中心位置通常會創造更平衡且視覺上更吸引人的畫面。
操作方法: 想像您的螢幕上有一個3x3的網格。使用您的 scooter 輕鬆調整位置,使您的主要主體位於網格的線條或交叉點上。
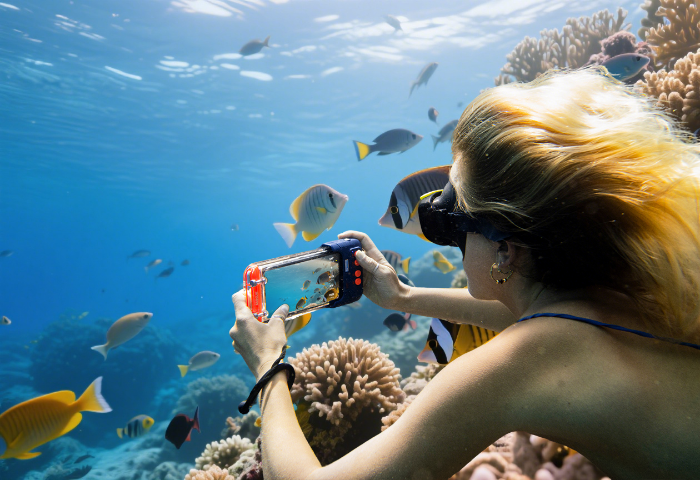
如何獲得良好的光線與色彩
良好的照明是捕捉水下世界鮮豔色彩的關鍵。
1. 結合自然光與人造光
平衡來自上方的陽光與您的視頻燈光,以獲得最自然的效果。
操作方法: 保持太陽在您身後以照亮整個場景。使用您的視頻燈光照亮前景中的主要主體。這樣可以為您的主體帶來色彩,而不會讓背景看起來暗淡且不自然。
2. 調整燈光位置以避免 Backscatter
Backscatter 是由您的燈光引起的雪花狀顆粒效果。
操作方法: 將您的燈光安裝在長臂上,高且寬,遠離您的相機鏡頭。這樣可以從側面照亮您的主體,並防止直接在相機前方的顆粒被照亮。
3. 設定手動白平衡
您必須告訴相機水下的「白色」是什麼樣子,才能獲得正確的色彩。
操作方法: 在您的拍攝深度,將相機對準白色板,並使用相機的自訂白平衡功能。若改變深度,需重新設定。

如何拍攝不同的水下場景
將您的技能應用於現實情境是下一步。本章探討如何拍攝特定水下場景,從野生動物遭遇到藝術鏡頭。
拍攝海洋野生動物
拍攝動物時,您的主要目標是捕捉自然行為而不打擾牠們。若尊重使用,海洋scooter能有效幫助您達成此目標。
1. 安全且耐心地接近野生動物
為了捕捉真實行為,您必須成為被動觀察者,而非追逐者。切勿追逐動物。相反地,使用scooter的最低速從側面慢慢接近。為了近距離且不干擾的接觸,當靠近時可以關閉馬達,僅靠漂流完成最後距離。冷靜且尊重的接近是拍攝優秀野生動物鏡頭的關鍵。
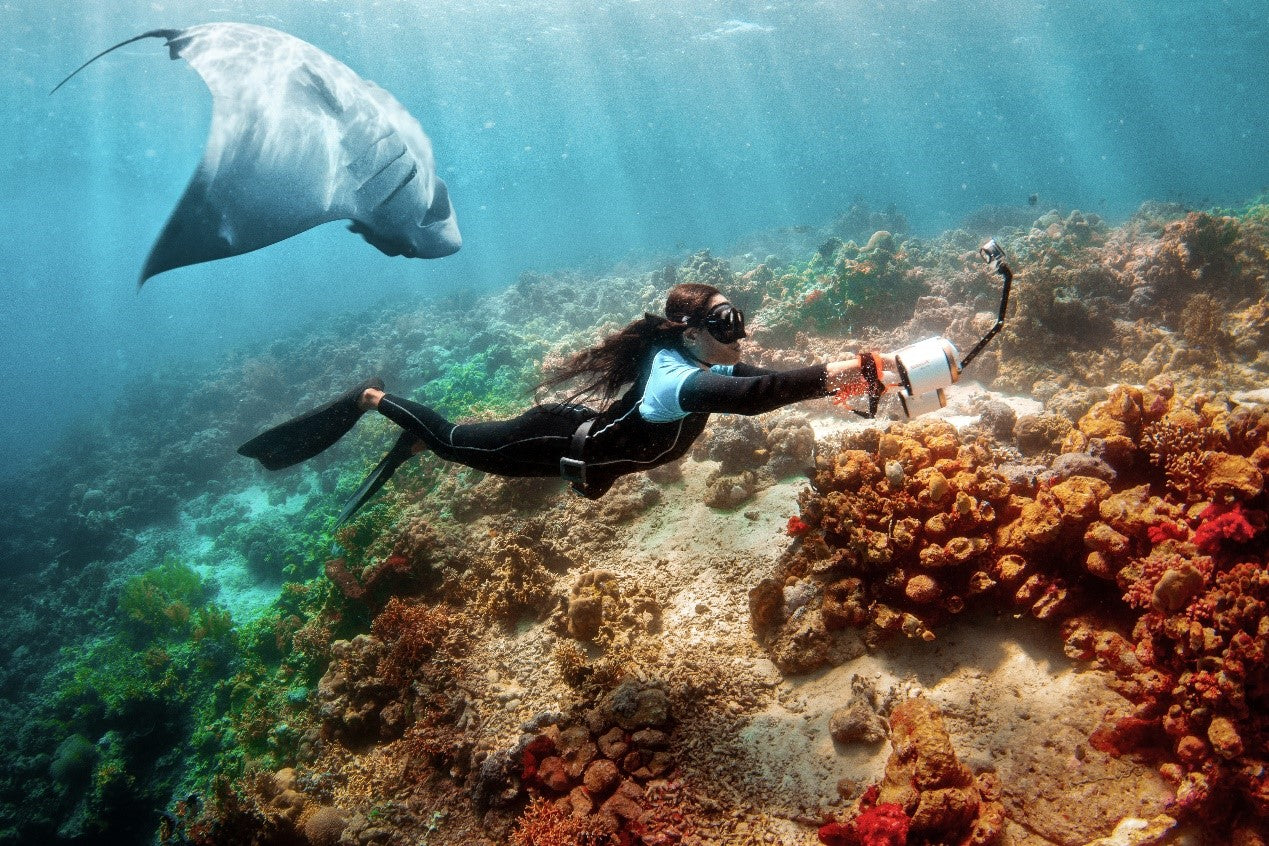
2. 使用scooter進行長距離追蹤
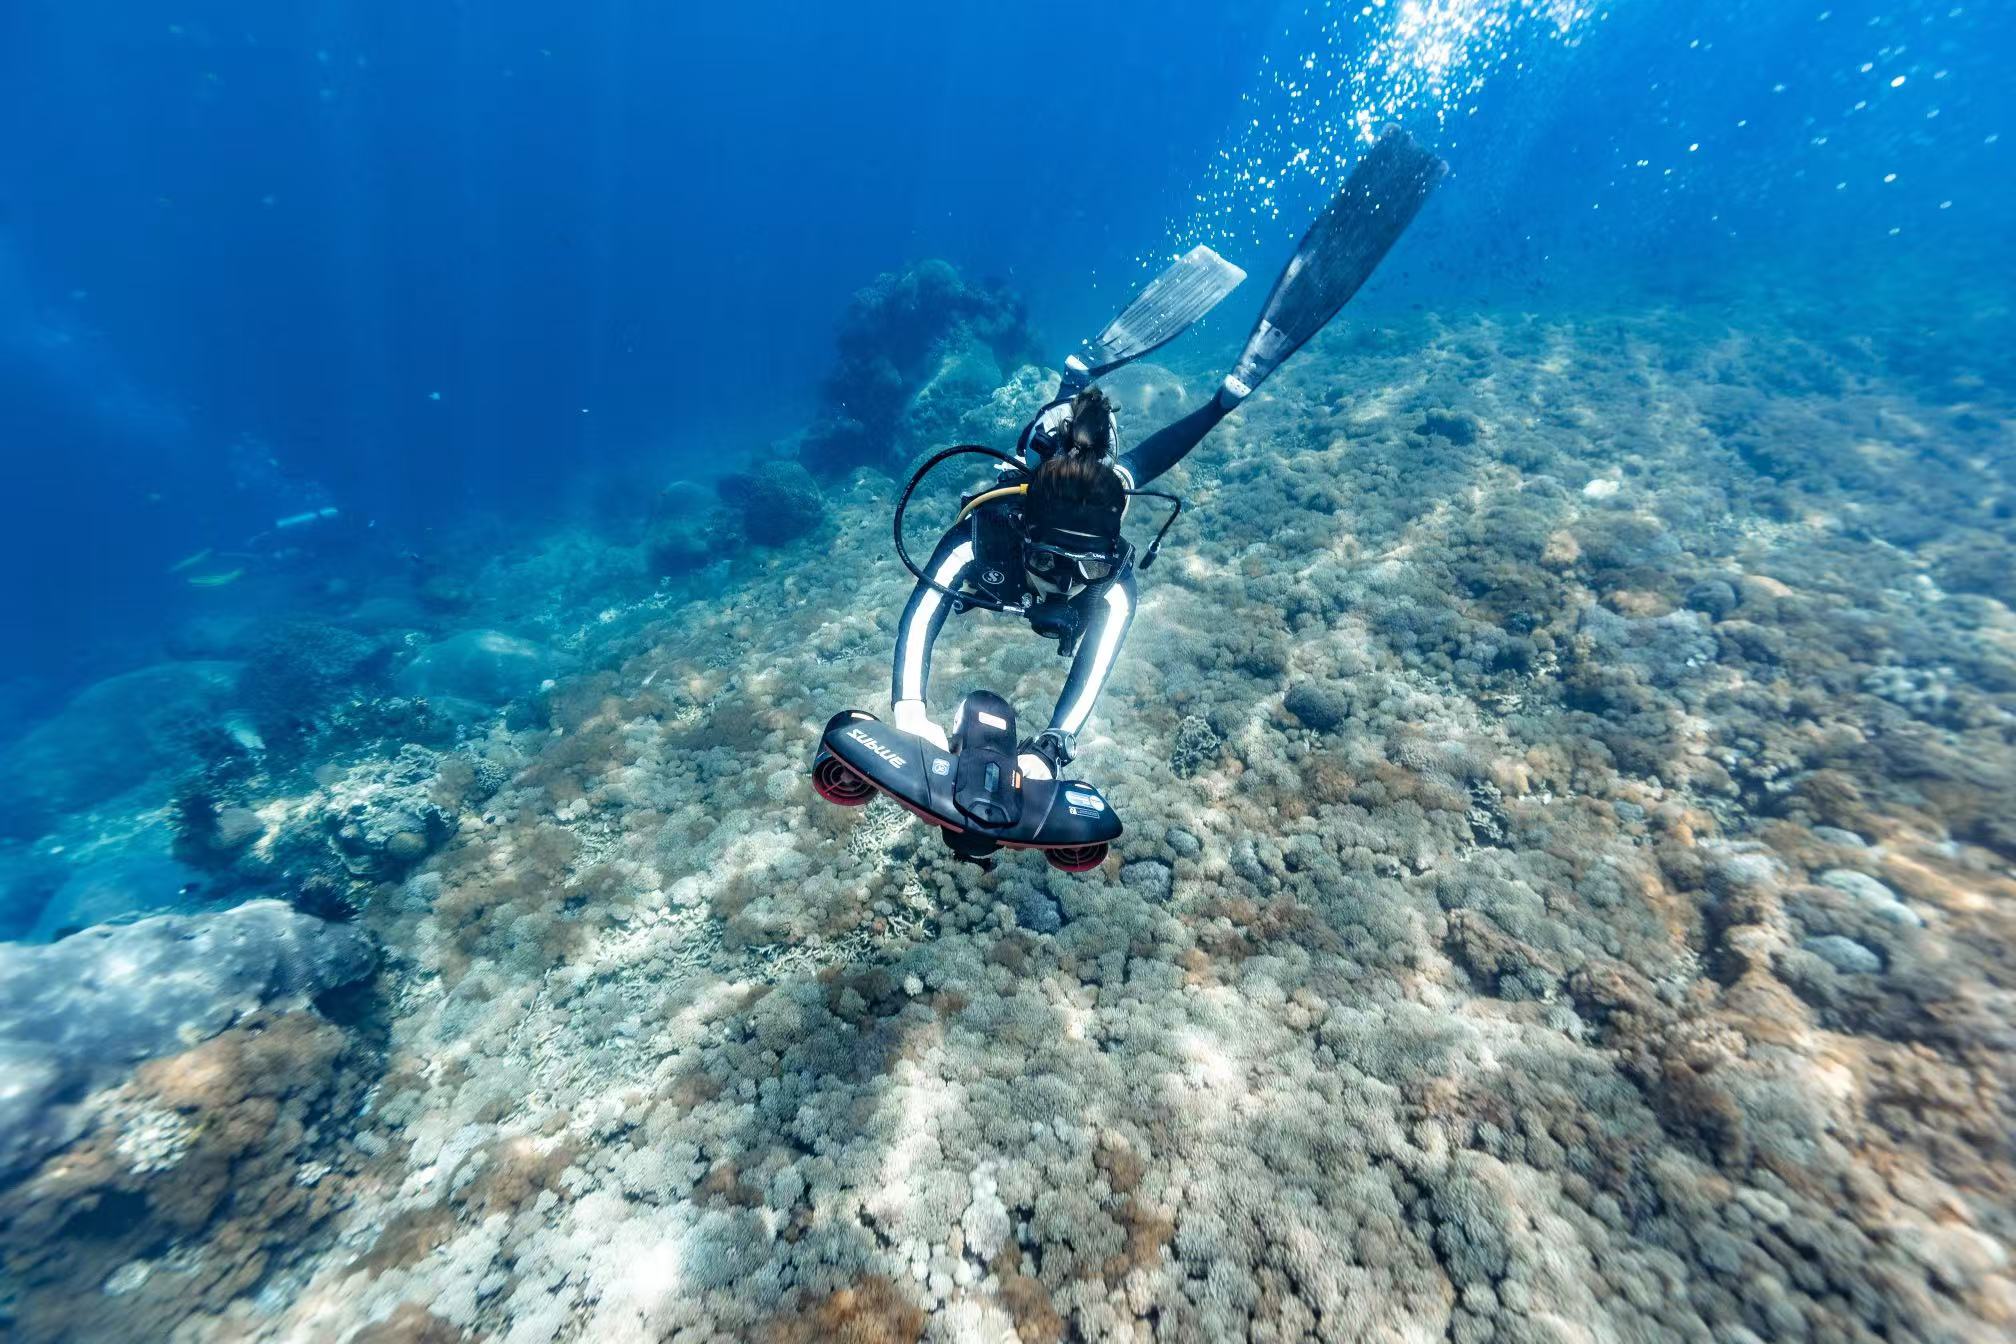
海洋scooter是跟上緩慢巡航動物的完美工具 像海龜、魟魚或大型鯊魚。透過使用緩慢且穩定的速度與動物平行移動,您可以捕捉長時間且穩定的追蹤鏡頭,而不會讓自己疲憊,這幾乎是不可能用蛙鞋游動時做到的。
探索珊瑚礁和沉船
珊瑚礁和沉船是龐大的環境。您的scooter是捕捉其規模感和細節的關鍵。
1. 展示景觀的規模
為了傳達珊瑚礁或沉船的巨大規模,使用您的scooter進行大範圍的掃視移動。緩慢的「飛越」鏡頭在珊瑚礁上方幾米處,可以展示其廣闊,而沿著深牆或大型沉船側面平滑的推軌鏡頭則揭示其長度和複雜性。
2. 在沉船內拍攝
注意: 只有在您擁有適當的沉船穿越訓練和認證時才嘗試此操作. 在沉船內,使用scooter可以進行精確且穩定的移動,不會攪動淤泥,避免破壞能見度。透過在黑暗走廊或開口處進行緩慢、穩定的推進鏡頭,可以營造強烈的神秘感和探索感。
拍攝水下人物
海中滑板讓你能從獨特且穩定的視角拍攝其他潛水員。
1. 記錄潛水員互動
你的角色是客觀的說故事者。scooter 幫助你在遠處保持穩定位置,同時捕捉潛水員與環境。使用環繞鏡頭有效框住潛水員及其觀察的海洋生物。.
2. 拍攝自由潛水員與模特兒
scooter 對於追蹤自由潛水員的快速節奏或模特兒優雅動作非常寶貴。使用水肺時,你可以輕鬆追蹤自由潛水員整個下潛或上升過程,拍攝連續鏡頭。對模特兒而言,scooter 提供流暢的動作,實現平滑且掃視式的攝影。
為藝術效果拍攝
有時目標不只是記錄主體,而是捕捉動態之美與時間流逝。
1. 高幀率(慢動作)鏡頭
美麗的慢動作需要以高幀率拍攝(例如 120 fps)並保持相機動作極為平滑。你的 scooter 提供了這種穩定性。找一個動作柔和的主體,如搖曳的珊瑚,進行緩慢且穩定的推軌鏡頭。剪輯時放慢速度,畫面將令人著迷。
2. 水下縮時攝影
縮時攝影將長時間濃縮成短片,需將相機固定在三腳架上。此鏡頭中,scooter 的角色純粹是後勤支援,不用於拍攝。利用它運送沉重的三腳架和攝影器材到難以游泳抵達的偏遠地點。

如何完成你的水下影片
拍攝只是戰鬥的一半。在後製中,你將整理原始片段、構建故事、校正色彩、加入音效,並準備最終影片讓全世界看到。
1. 整理你的素材
首先將你的片段整理到快速外接硬碟(SSD)上的清晰資料夾結構,以處理大型影片檔案。接著,檢視你的素材,只挑選最好的鏡頭。良好的工作流程是先快速瀏覽找出所有可用片段,再進行第二次更嚴格的篩選,只選擇最強的時刻用於最終剪輯。
2. 編輯你的故事
將你挑選的片段組合成一個簡單的故事,有開頭(建立場景的廣角鏡頭)、中間(主要主題)和結尾(結束鏡頭)。透過節奏變化保持觀眾的興趣——mix 快速的水中滑板鏡頭與緩慢優雅的鏡頭,並使用慢動作來營造戲劇效果。為了達到最專業的效果,保持鏡頭間的剪接簡潔乾淨。
3. 色彩校正與分級
這是水下影片最關鍵的步驟。首先,進行技術性的色彩校正,透過調整白平衡並補回紅色,去除藍綠色調,還原自然色彩。當畫面看起來自然後,你可以套用創意色彩分級,賦予影片特定風格或氛圍。最後的銳化和降噪處理也能幫助畫面更乾淨。
4. 聲音設計
聲音讓你無聲的水下畫面活起來。選擇與剪輯氛圍和節奏相符的背景音樂。然後,加入潛水員氣泡或微弱海洋聲等細微音效,讓場景更具沉浸感和真實感。
5. 分享與推廣你的影片
要分享你的影片,請以常見格式如 MP4 匯出,並使用 YouTube、Instagram 或 Sublue Go 等平台推薦的設定。。用引人注目且色彩豐富的縮圖和清晰標題吸引觀眾。最後,使用描述你地點、主題和所用裝備的特定關鍵字和標籤,幫助人們找到你的影片。
創作你的水下影片!
本指南已說明 sea scooter 是創造穩定、動態且專業鏡頭的關鍵拍攝工具。你現在具備選擇合適裝備、執行電影般移動及後製潤飾的知識。水下世界充滿驚人故事,憑藉這些技能,你已完全準備好捕捉它們。是時候將所學付諸實踐,展現你獨特的海洋視角。
關於 Sea Scooter 攝影的常見問題
Q1:同時操作相機和 sea scooter 難嗎?
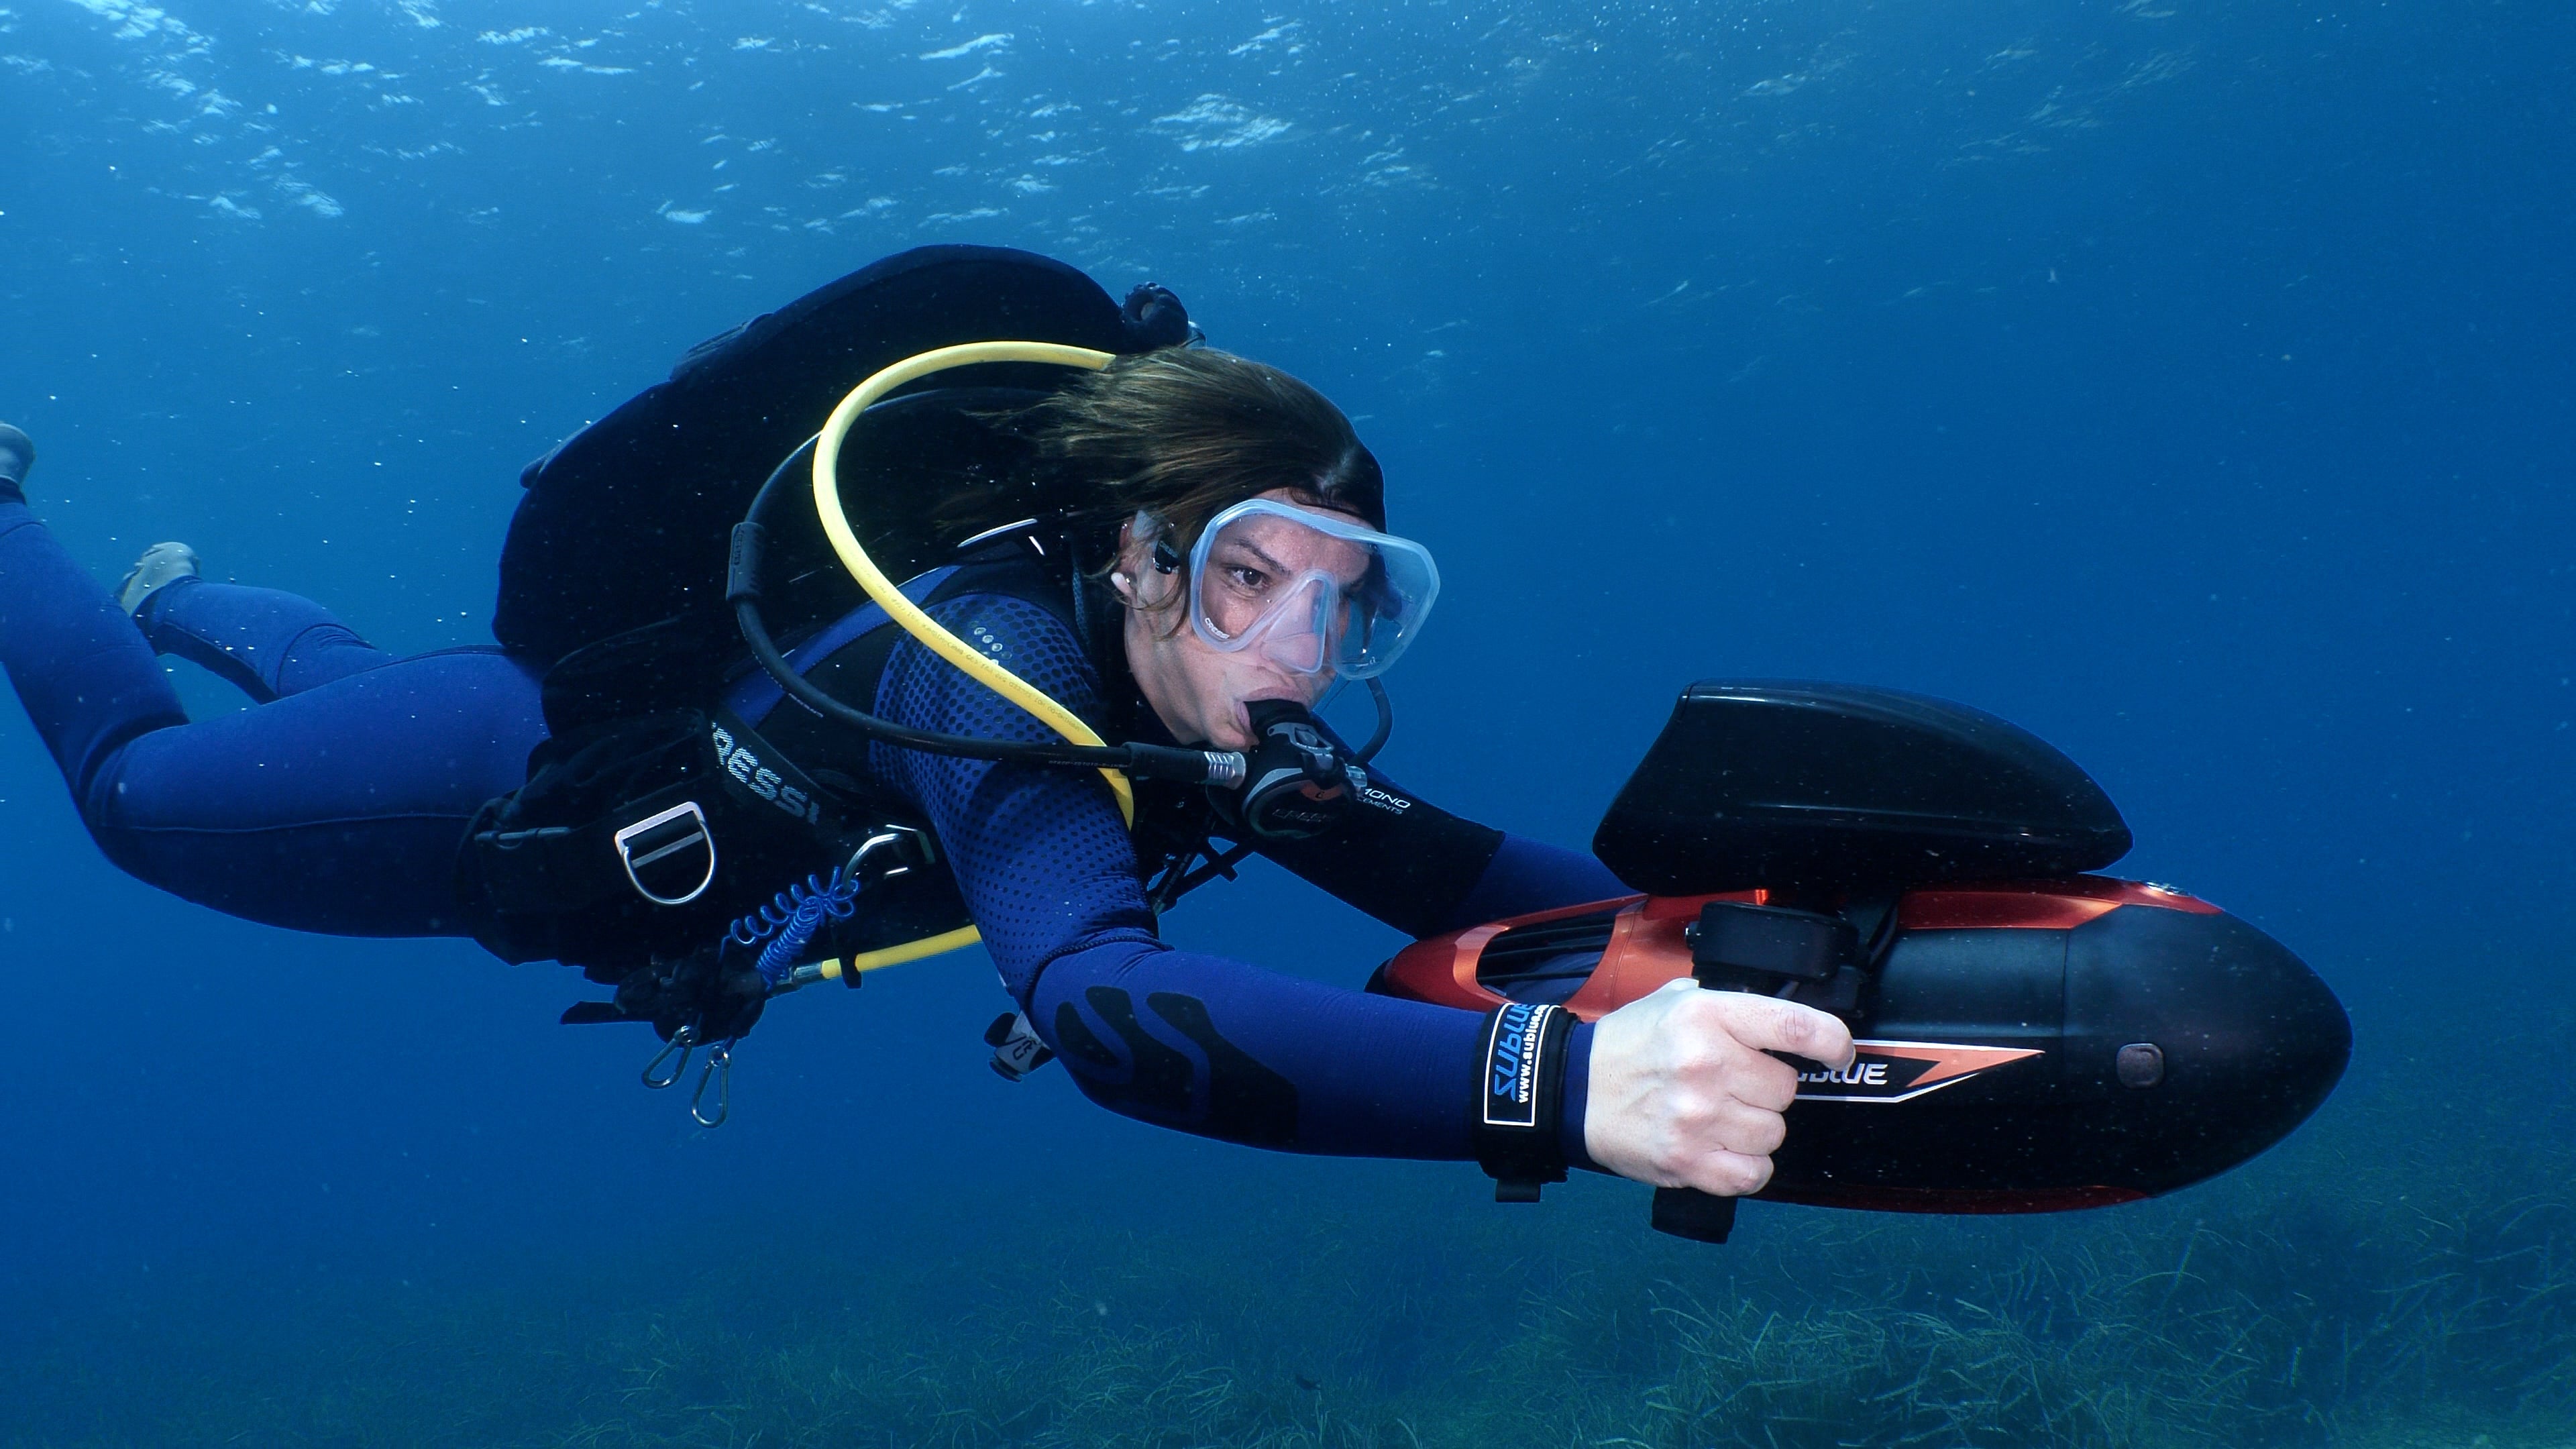
這確實需要一些練習,最好從平靜淺水區開始,讓自己習慣。關鍵是讓你的相機裝備盡可能達到中性浮力,這樣比較好操作。使用允許單手操作的 sea scooter 型號會有很大幫助,因為這樣你另一隻手可以調整相機設定。
Q2:我的畫面還是搖晃,最常見的錯誤是什麼?
畫面搖晃通常由兩個原因造成:與 scooter 鬥力或裝備不平衡。不要緊握 scooter,放鬆並輕輕引導它。最重要的是,確保你的相機裝備是中性浮力。如果它一直想下沉或浮起,你就得用力控制,這會讓畫面產生搖晃。
Q3:用 scooter 拍攝海洋生物時,距離多近才算太近?
黃金法則是絕不改變動物的自然行為。如果動物改變游泳模式、停止覓食或逃跑,表示你太靠近了。接近野生動物時,請緩慢且從側面接近,而非正面。為了減少干擾,當你靠近時可以關閉 scooter 的馬達,讓它自然漂流最後一段距離。
Q4:我應該先花錢買更好的 sea scooter 還是更好的相機?
對初學者來說,一個好的 sea scooter 通常比新相機更能立即提升你影片的質量。像 GoPro 這樣的基本相機搭配穩定且平滑移動的平台,會比昂貴但在游泳時搖晃且難以保持穩定的相機拍出更好的畫面。先掌握移動技巧,再升級相機。
分享:
專業潛水員的水下滑板指南:性能、技巧與裝備
裝備您的遊艇最新必備水上玩具的終極指南